Sync External Data Using the Infodash API

The Infodash API allows you to connect your Infodash Core application to other line-of-business systems. This can be done in real-time, allowing you to easily render external data within your Intranet. Bringing data direct to users wherever they sit.
However, sometimes we have data that does not need to be real-time. Maybe we want to sync data from SQL to SharePoint. That’s where the Infodash API combined with Power Automate can help.
For this scenario we are going to use a SQL table that contains a list of ~1500 client records. We want to get this list of clients into SharePoint so that we can include them in search results, use them inside of Infodash connectors, etc.
First, let’s take a look at our database table.

As you can see, we have a very simple table that contains some client information. To get this information we are going to use an Infodash Template to sync information from our API to SharePoint, let’s begin!
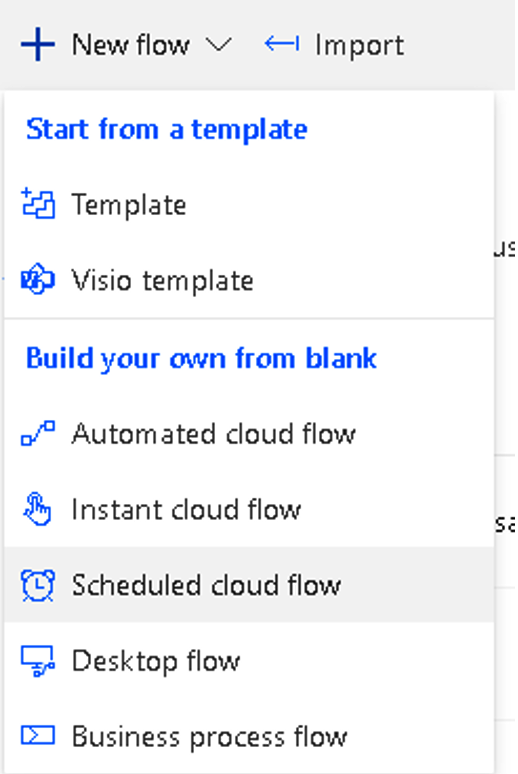
Let’s open up flow and start from a blank, scheduled cloud flow:
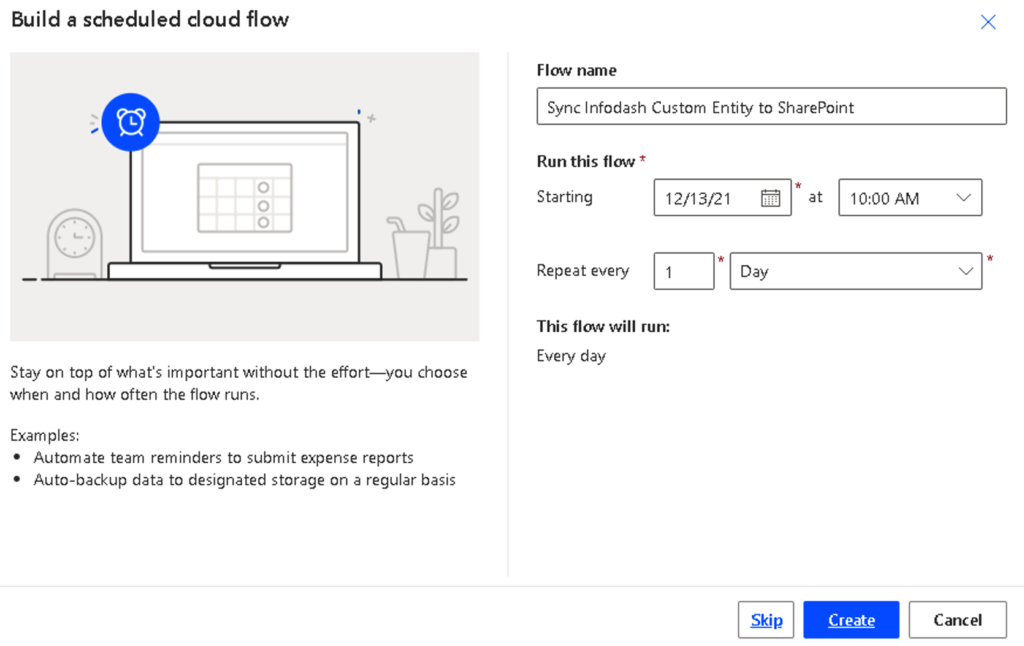
We will give our flow a name and simple schedule of “Once a day”.
Let’s add a new HTTP action that will use the Infodash API to fetch our customers from our database.
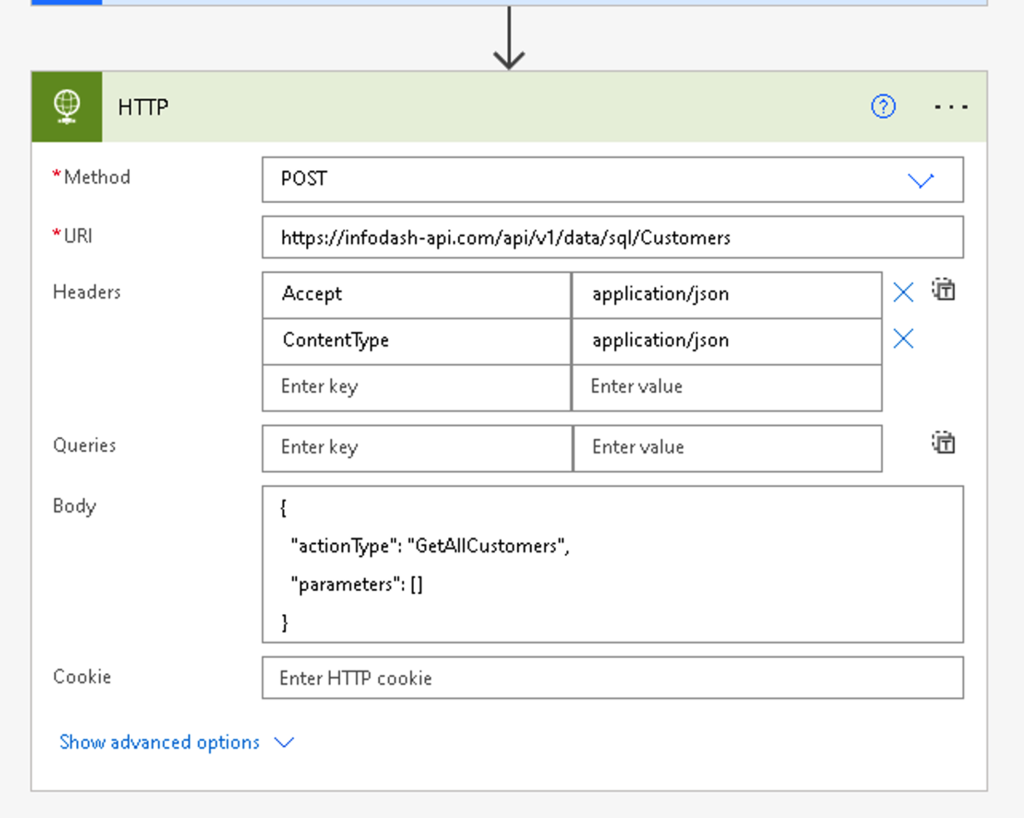
We need to perform a POST request with the following information:
- URL: https://infodash-api.com/api/v1/data/sql/Customers
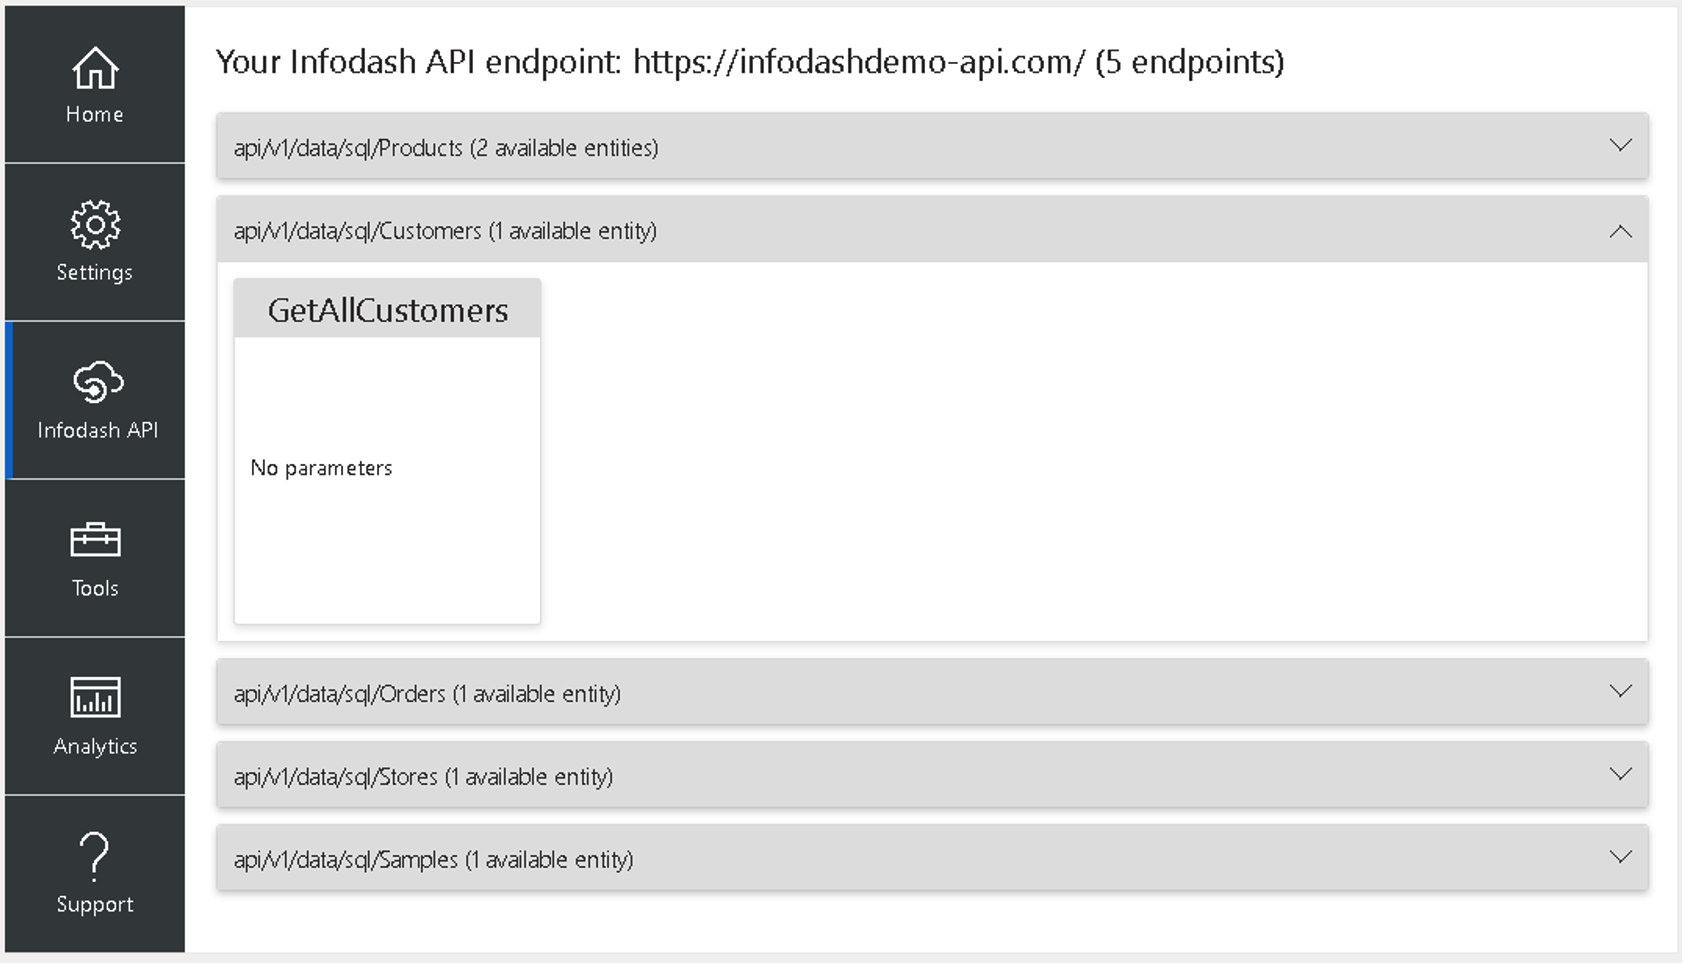
- This is our Infodash endpoint for Customers. You can configure this inside of Infodash and see the details and parameters via the Infodash API Admin page.
- Headers
- Here we are setting a couple basic headers to define that we are working with JSON data.
- Body
- The Infodash API requires a body with each request that outlines the data model you wish to fetch. When you are working within Infodash, we provide a UI for you to build these connections but within Flow we must define the request body using JSON. As you can see, we are passing in an action of GetAllCustomers without any parameters. This should return all ~1500 customers.
Next, we need to add a Parse JSON action to parse the JSON that is coming back from the API.
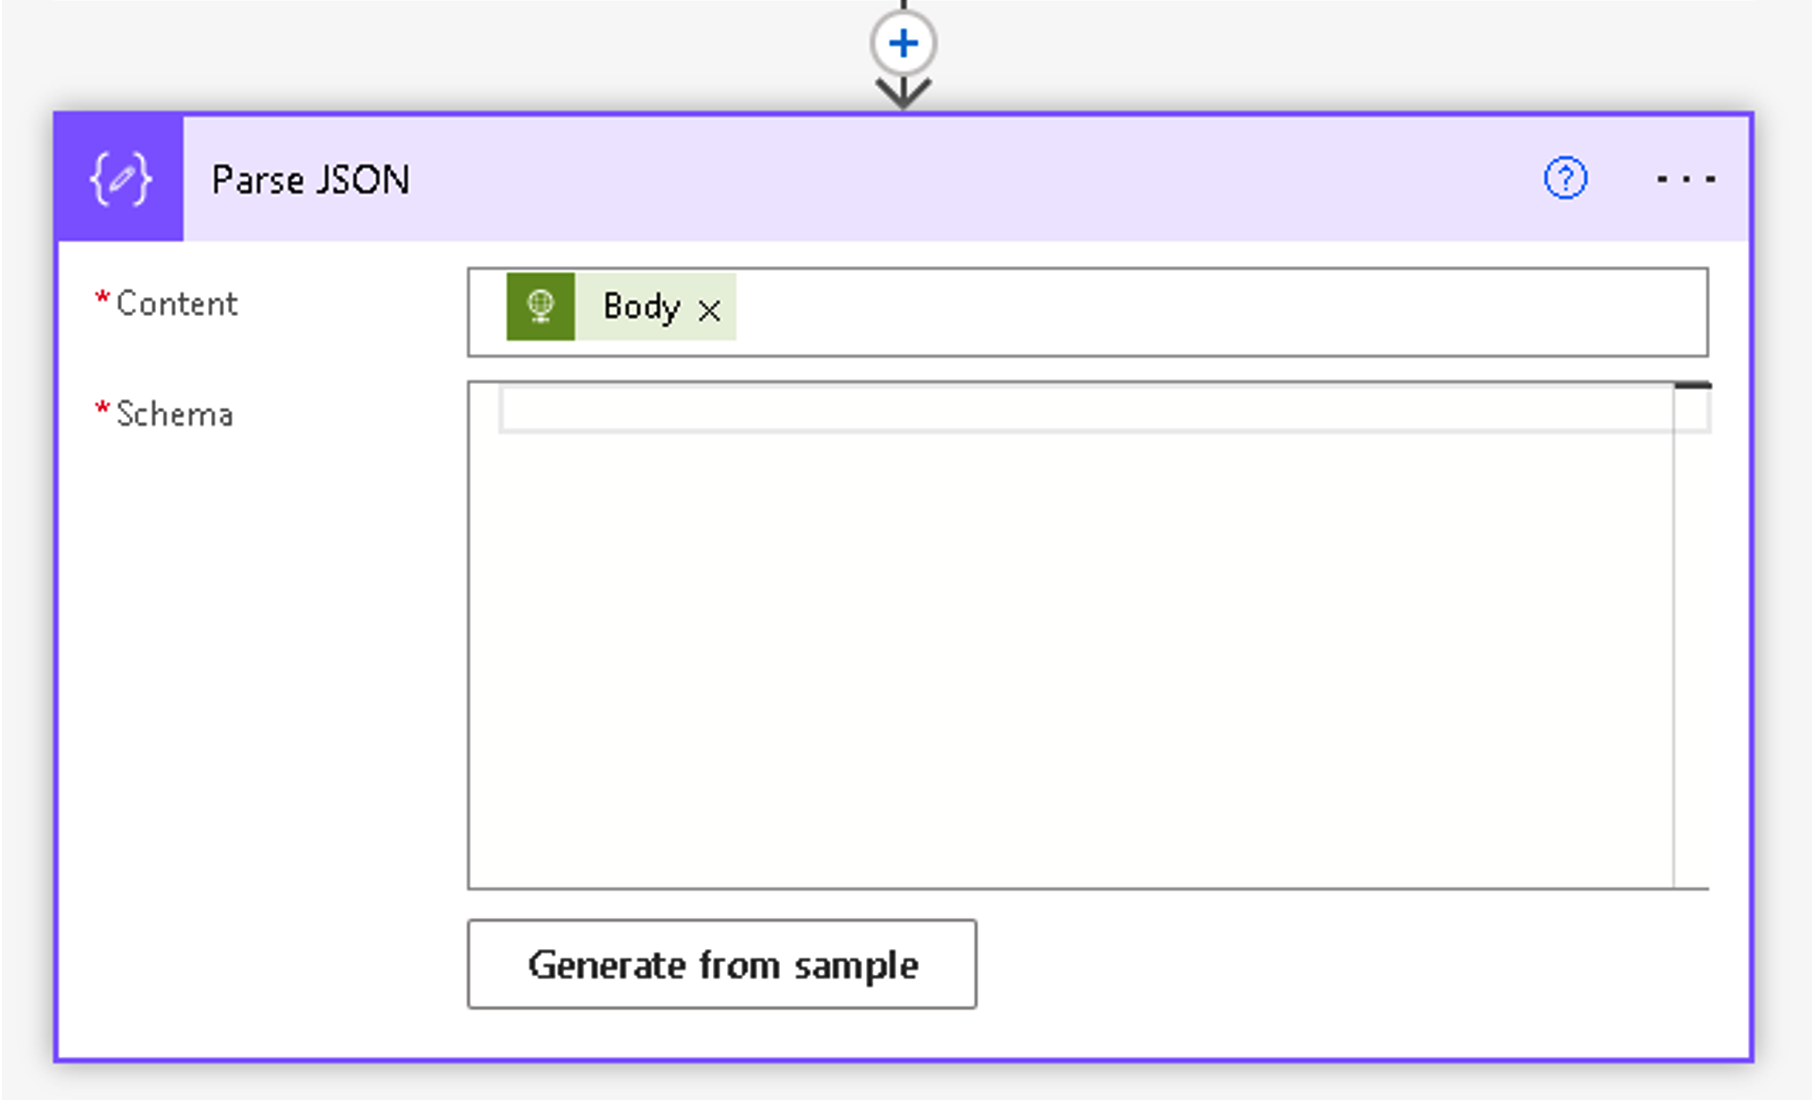
The content should be set to use the Response body from our HTTP request above.
Specifying a schema allows us to get a richer experience when working with the data in Flow. To easily generate a schema, we can paste in some sample JSON response data for clients. We can either do this manually or use the Infodash API admin page to generate this for us.
Click Generate from sample
Paste in your sample data set.
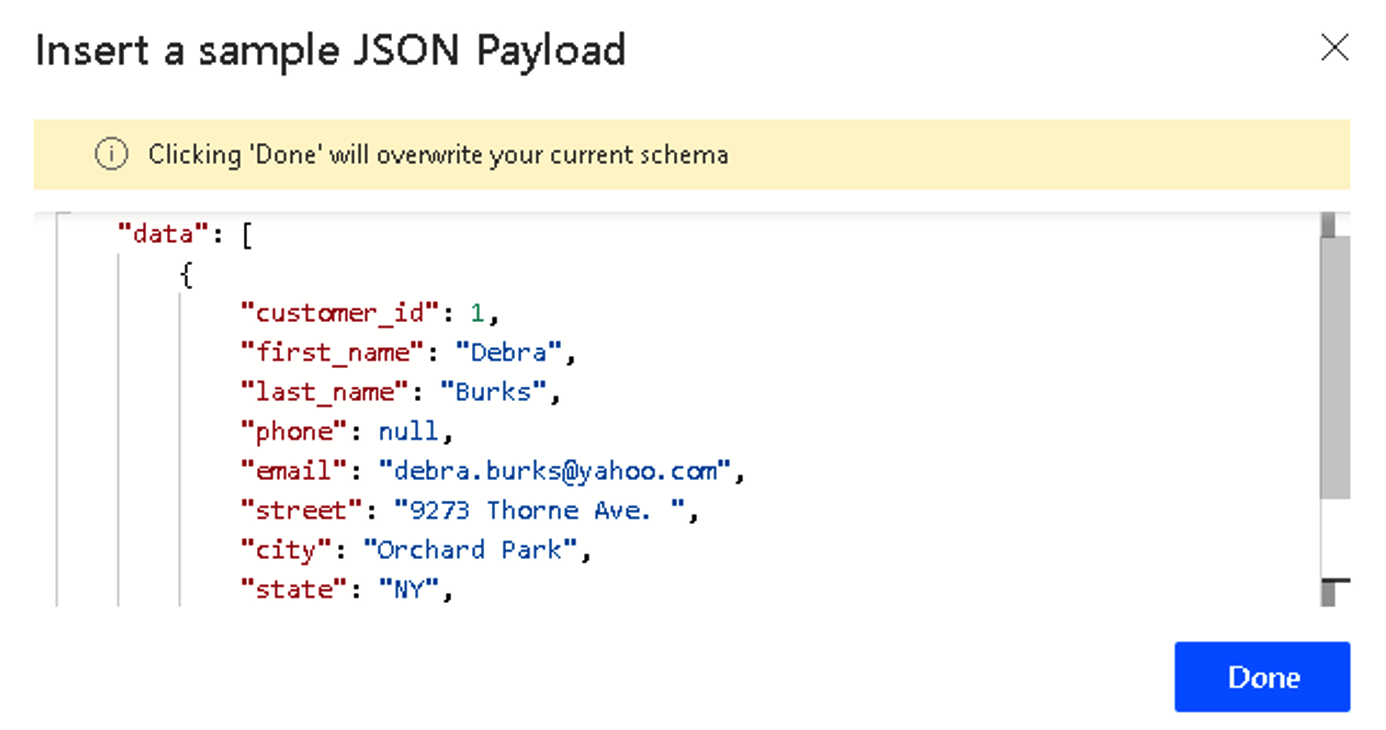
This will auto-generate a schema for you
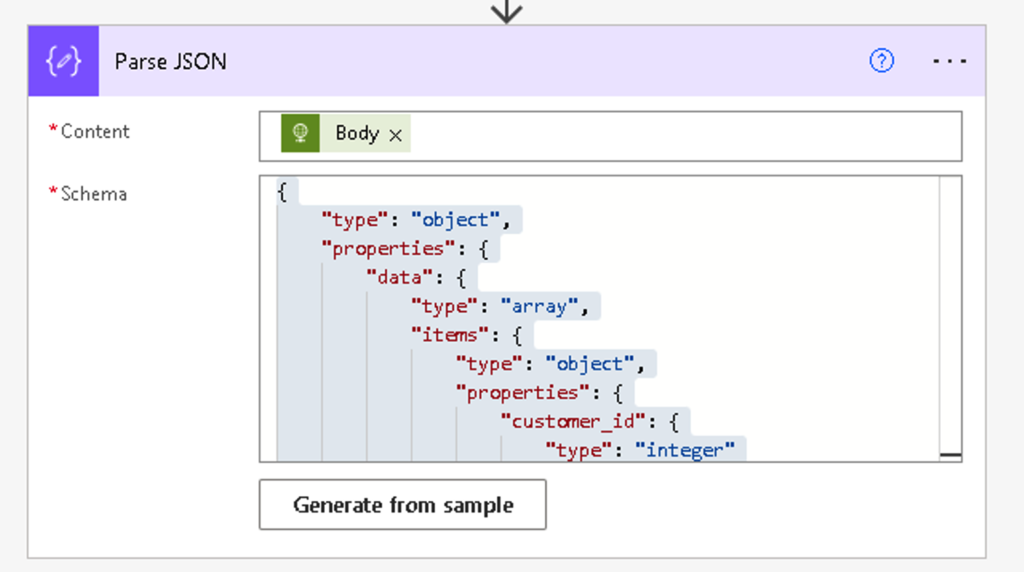
Now that we have our data coming back from the API, we can create these as list items in SharePoint.
Add a new Create Item action.
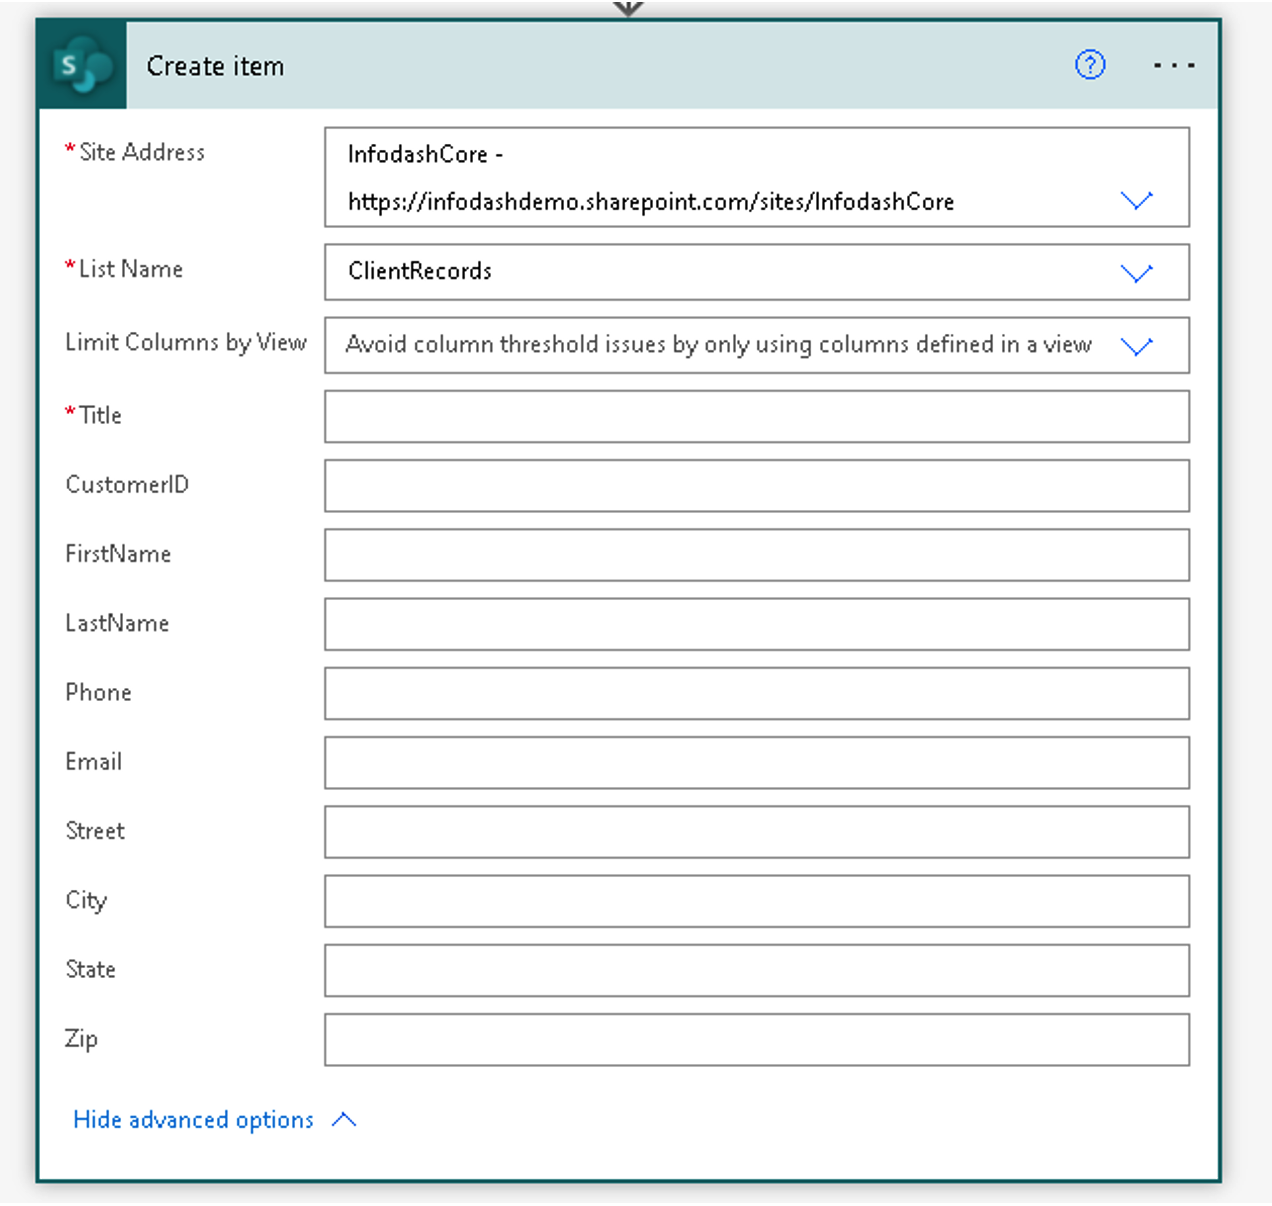
As you can see above, I have already created a simple SharePoint list with the necessary fields.
Tip: The list doesn’t need to match your SQL table exactly. You can have more or less fields if would like. This is because we can massage our data inside of our flow before we push to SharePoint. This is great for cleaning up data, generating links, etc.
Let’s map our data from the API into SharePoint.
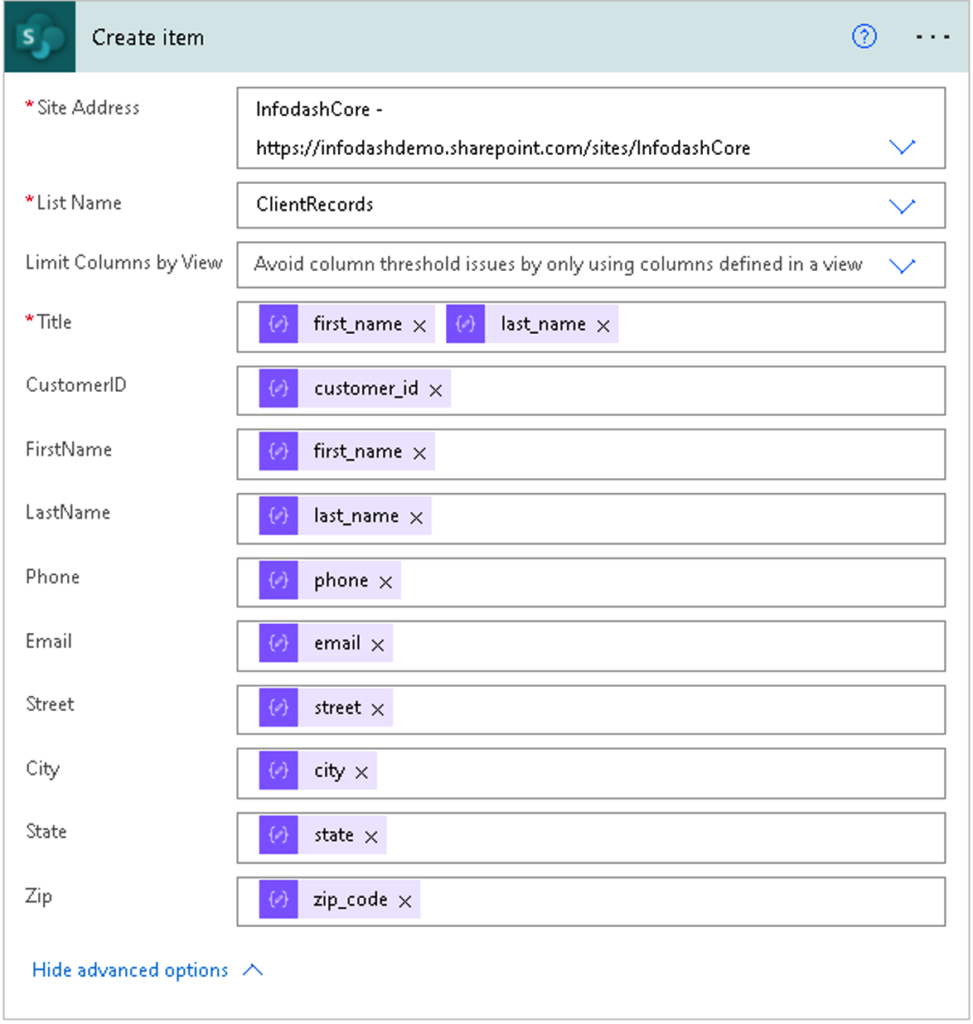
Finally, save your flow.
Click back to go back to the flow dashboard screen.
Click Run to run this flow for the first time.
Success! We can see that our flow ran successfully and our SharePoint list is populated with Client Records.

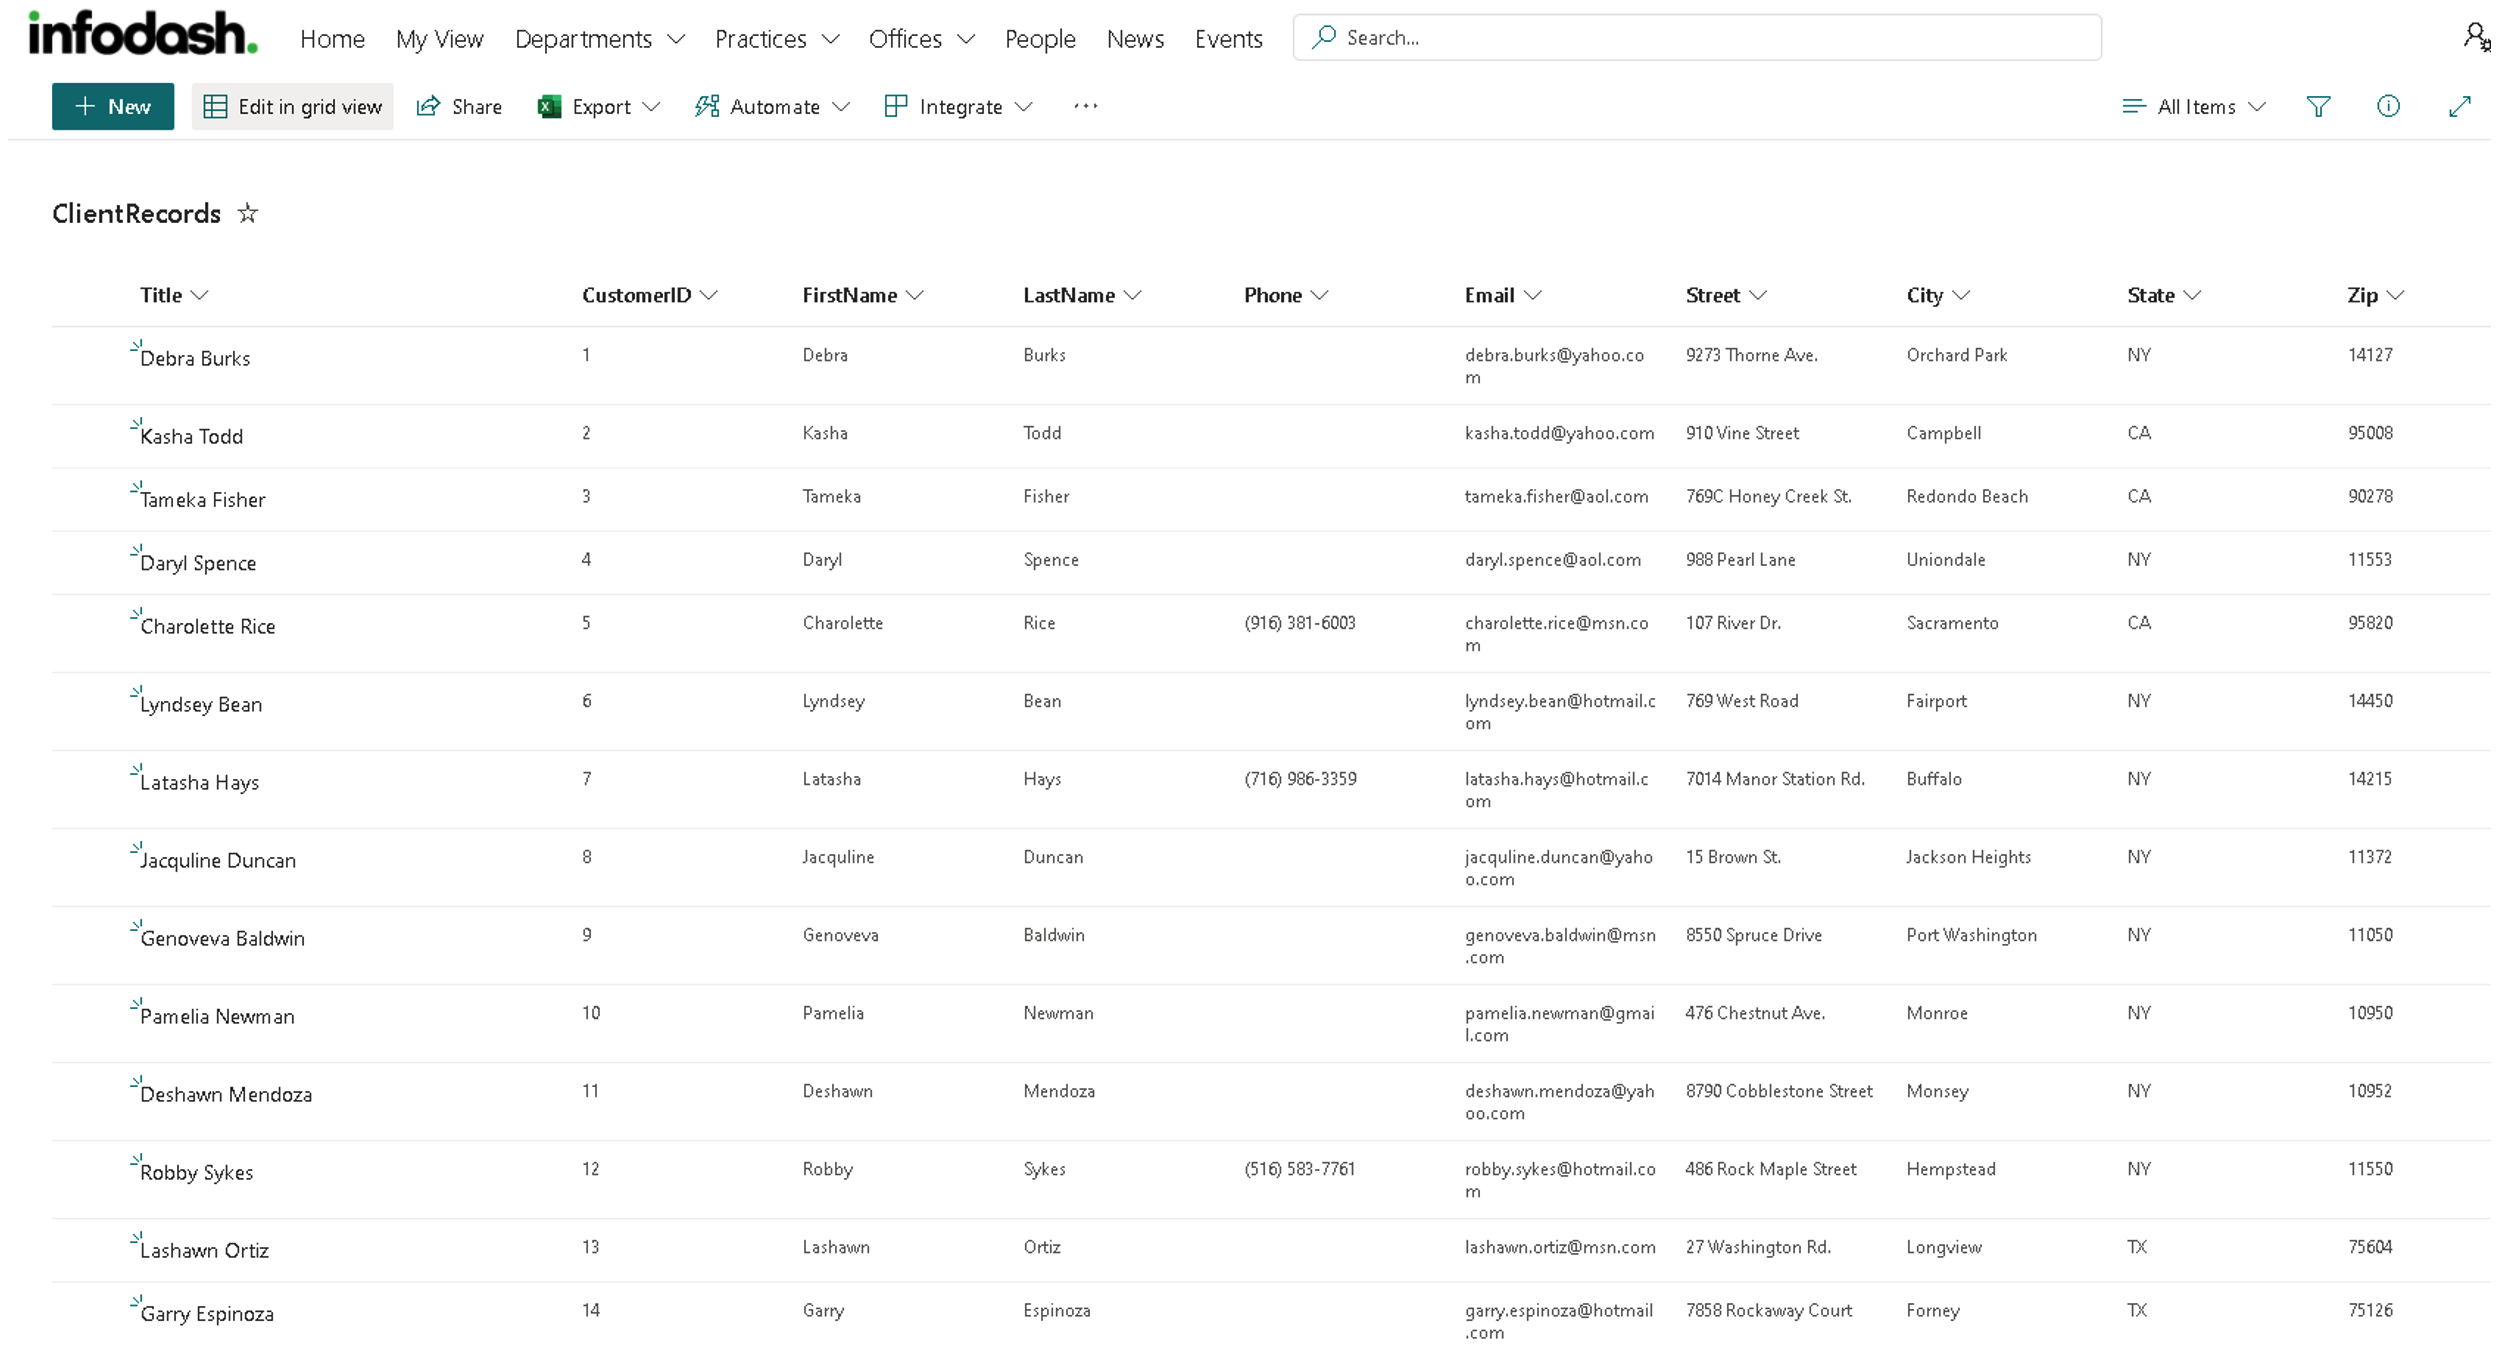
The Infodash API gives you the power to easily fetch business data and use flow to create a no-code data solution. We can further extend this flow by checking to see if a client needs to be updated, build in business logic rules and more.
To learn more about the Infodash API, please contact us to schedule a demo today!
Subscribe for Updates


